This past week we were brainstorming about using different forms of input and output for AR -- some of the ones like heat, wind, and such are ones I'm already exploring in my intangible interactions class, which is a useful overlap. I decided to continue with my ARduino project by introducing a new mode of interaction with it; touch was very hard to do right on the tiny points of pin on my Arduino, so I thought my app might work a lot better if it was voice controlled.
Giving Arduino Personality
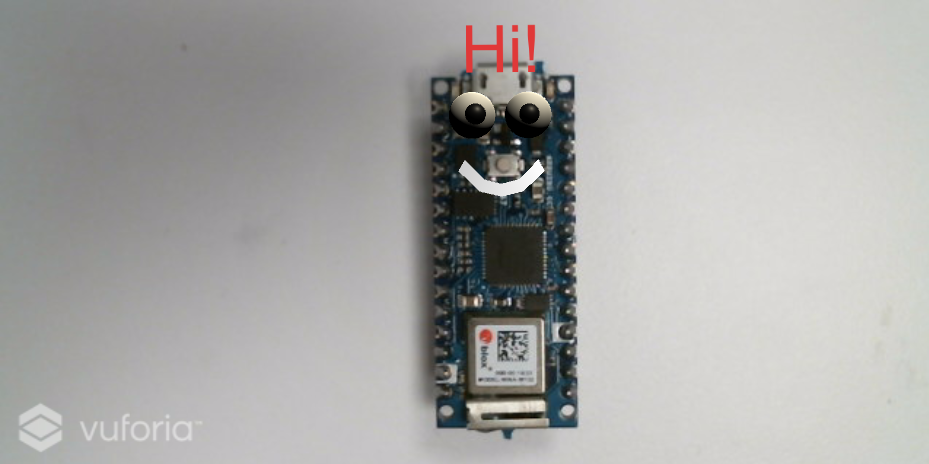
Part of what we had talked about in class was the potential for users, in interacting with objects, to explore them in a way that gave them personality (ironically this is ALSO something I'm touching in intangible interaction). The easiest way I can think of to make something personable is to give it a face, as my studies in cognitive science (as well as our intuition) will tell us that as humans we can't resist anything with a face. So, I gave my Arduino two big eyes, a smile, and a friendly little text box saying "Hi!"
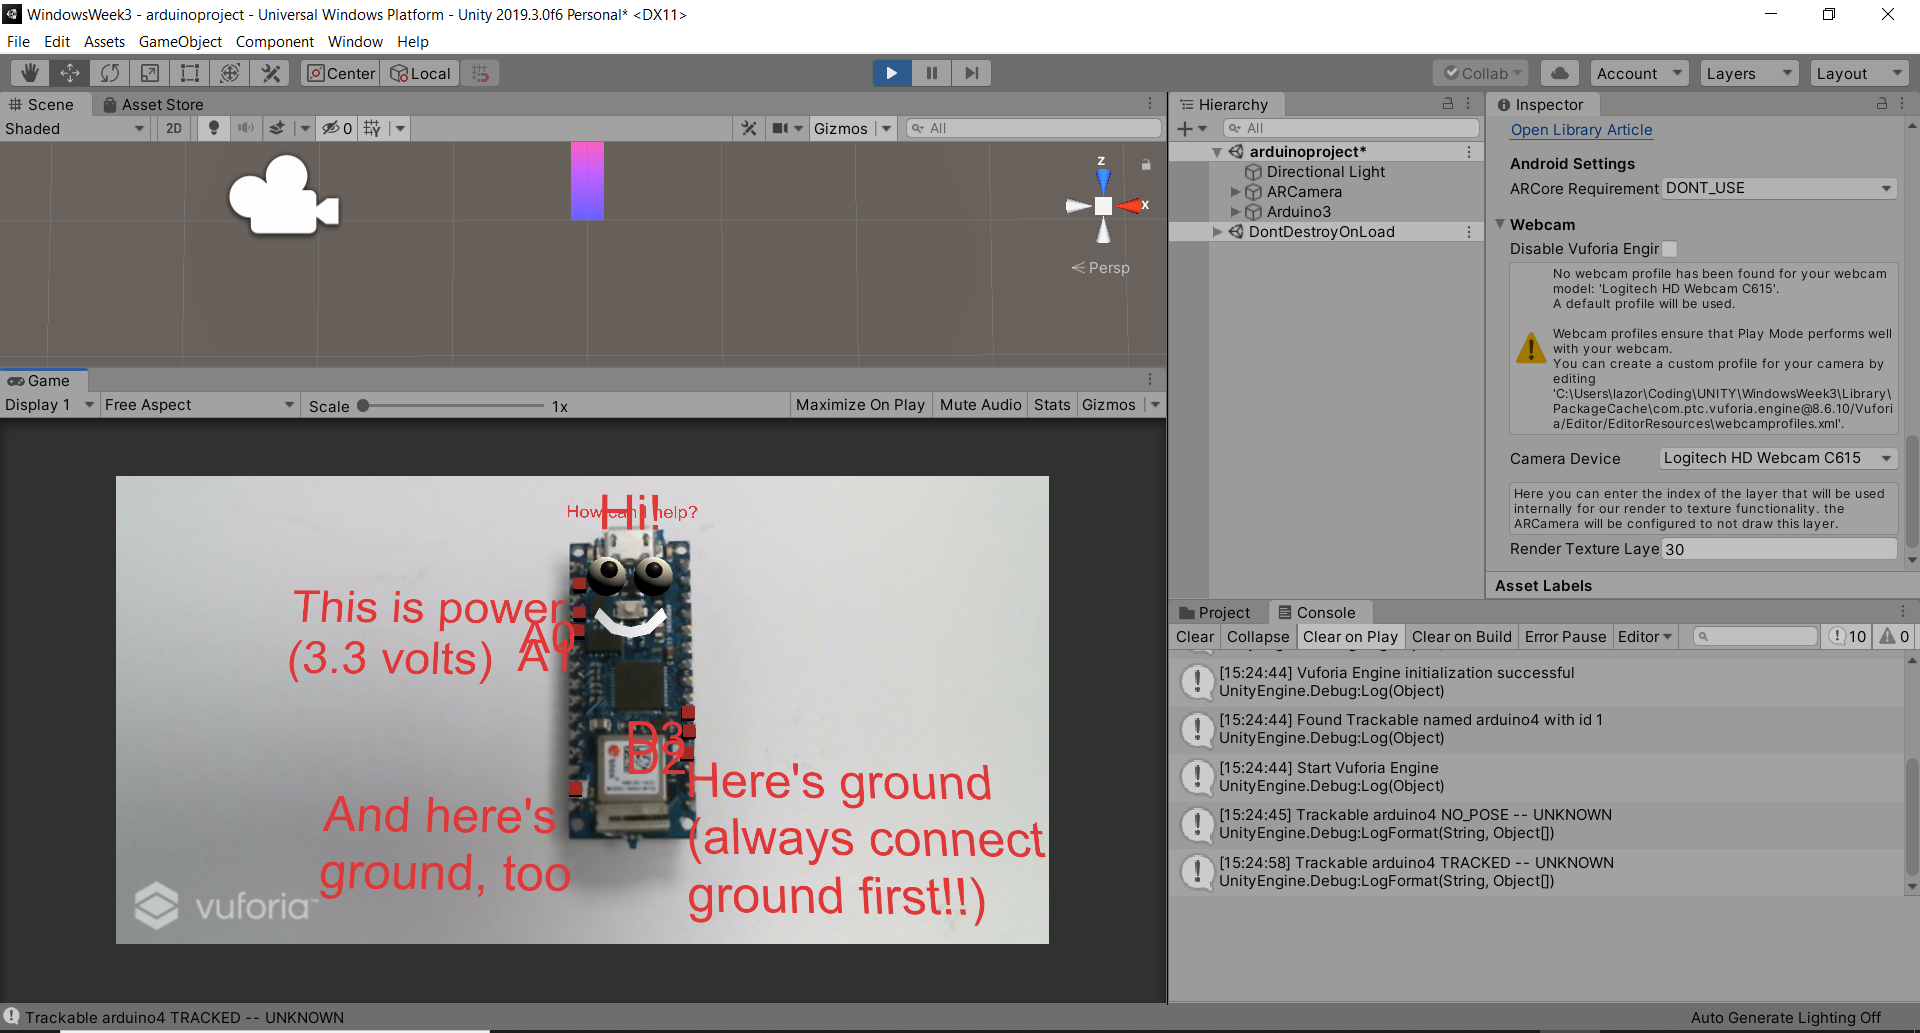
After the face, we needed the data. I put in a few pins first just to make sure things were going to work: ground, power, A0, A1, D2, D3.
Integrating Voice
Luckily, Windows has a surprisingly good speech recognition module already built into Windows 10, and by switching Unity's build engine in the player settings to "Universal Windows Platform" I was able to quickly and easily integrate it into my project. The voice recognition is robust, and I was getting adequate responses to phrases which weren't even real words, like A0, A1, and PWM, which was very promising!
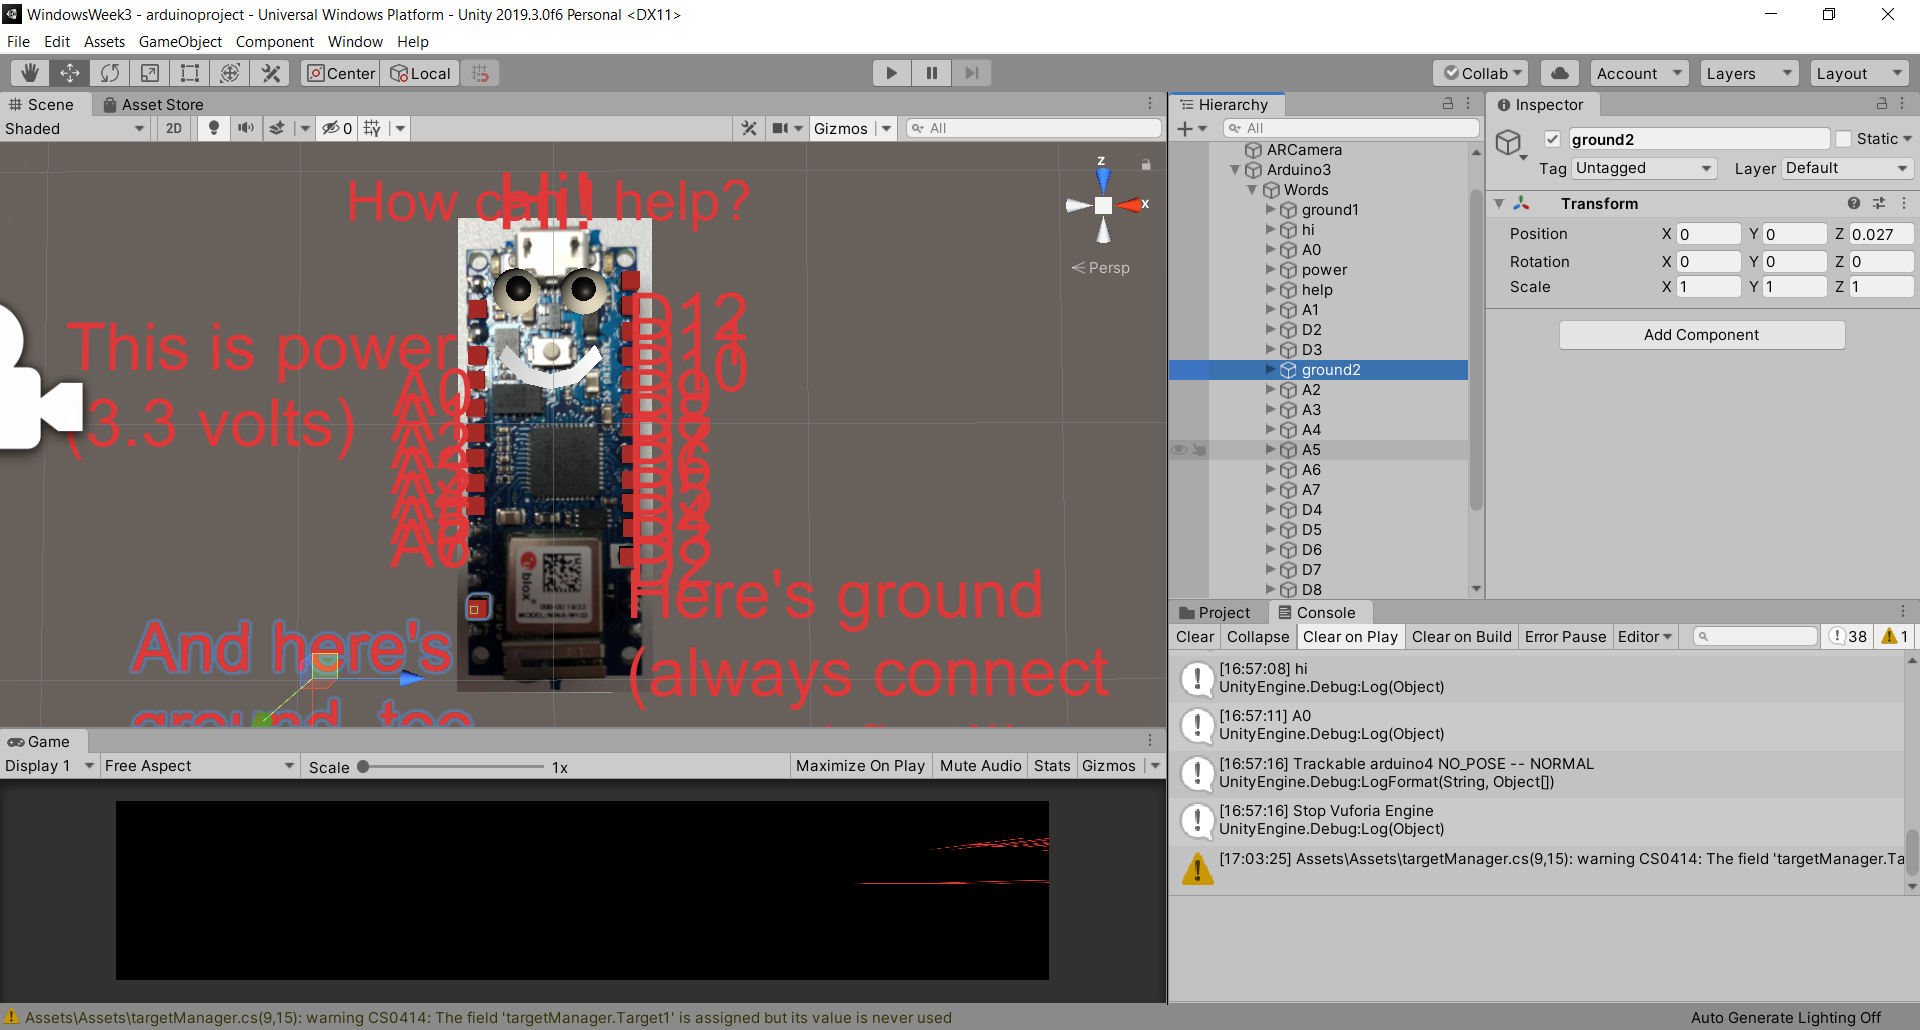
When I got the voice recognition working consistently I knew it was time to put in the rest of the pin texts -- my Arduino in Unity ended up looking like some sort of centipede.
To begin with, I initialized the SetActive state of all the elements containing text to off, keeping on only the eyes and the initial "hi". I wanted to structure my voice commands so that the user could easily and intuitively switch between some of the pins to see where they were, though first I couldn't help programming in a nice little personal touch -- first you have to say hi back to the Arduino to get it to help you.
To get the text display to switch every time a new pin number was said out loud, I put in a switch case. When it recognizes a phrase, it goes through all the pins and sets them off, then finds the pin with the same name as the word and turns it on. (The trick to turning a text mesh off and on is to attach it to a parent, and then you can turn it off and on through the parent instead of turning it off directly).
After coding my huge switch statement I was sure I'd get an error, but to my surprise it worked right the first time -- and it actually worked really well! See it in action below.
Note: I realized after filming this video that the reason the Arduino doesn't recognize "D1" is because there's no "D1" pin on the nano... this is exactly why I need this app in the first place.
Comments? Questions? Concerns? Email me here!